Editing Fullscreen Menu Items.
1. Double-click on the symbol located on the right containing menu items.
2. Once inside the symbol, select each menu item by clicking on it, and adjust its text and link target using the "Properties" panel visible on the right.
3. If you don't need any of the items, simply select and delete them. If you'd like to add more items, just copy and paste the last one, and adjust its properties accordingly.
Editing Fullscreen Menu Social Media Links
1. Double-click on the symbol located on the right containing social media links.
2. Once inside the symbol, select each item by clicking on it, and adjust its text and link target using the "Properties" panel visible on the right.
3. If you don't need any of the items, simply select and delete them.
Changing the Logo in the Menu.
1. Double-click on the symbol located on the right containing the logo.
2. Once inside the symbol, replace the logo image with your desired image in the "Settings" panel on the right.

Removing the Cart Button From the Menu.
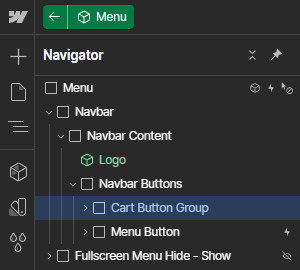
1. Double-click on the "Menu" symbol to go inside it.
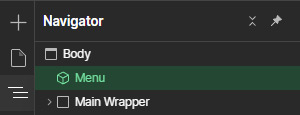
2. Using Navigator panel on the left, find and select the "Cart Button Group" element, and then delete it.
Editing Template Colors Through the Variables Panel.
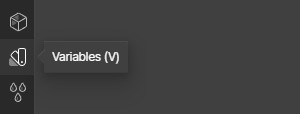
1. While in the Designer view, locate the Variables button on the left side of the screen and click it.
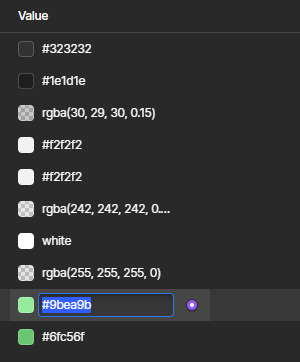
2. In the Variables panel, modify individual colors in the "Value" column by either clicking on the color's swatch icon or entering the value directly.
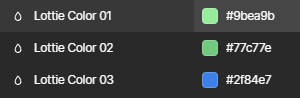
Changing Colors of Lottie Animations (Moving Hands) Through the Variables Panel.
To enable changing the colors of animations through the Variables panel, you need to bind the variables to elements of animations using a short Custom Code.
1. Copy the Custom Code displayed below.
<style>
.L_Fill{ fill: var(--lottie-color-01); }
.L_Str{ stroke: var(--lottie-color-01); }
.L_Str2{ stroke: var(--lottie-color-02); }
.L_Str3{ stroke: var(--lottie-color-03); }
</style>
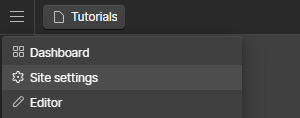
2. Click on the Webflow icon in the top left corner, and go to "Site settings."
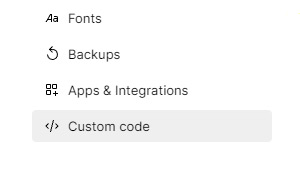
3. Open the "Custom code" section.
4. Paste the Custom Code into the "Head Code" text box, and click the "Save" button.

That's it! From now on, you can easily change the colors of animations in the Variables panel.
Please note that changes will be visible on the published page, but not in the designer mode.
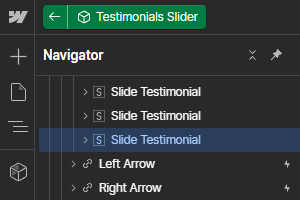
Editing Testimonials Slider.
1. While on any page with the slider, double-click on the "Testimonials Slider" symbol to go inside it.
2. Now, you can edit content of any slide directly.
3. To access slides that are outside the screen edge, use the arrow buttons in the "Slider Settings" section of the "Settings" panel.

4. If you don't need any of the slides, simply select and delete them. If you'd like to add more slides, just copy and paste the last one.
Please note that the slider works best if the number of slides is a multiple of four—such as eight, twelve, sixteen, etc.
Editing Banner Content.
1. Click on a banner to select it.

2. In the panel on the right side of the screen, you can change the banner's text content and replace images.
Still need assistance?
If you have any questions regarding editing the template or its functionality that aren't addressed in the tutorials above, please don't hesitate to reach out. We're here to help! Simply contact us at silverrost.webflow@gmail.com

